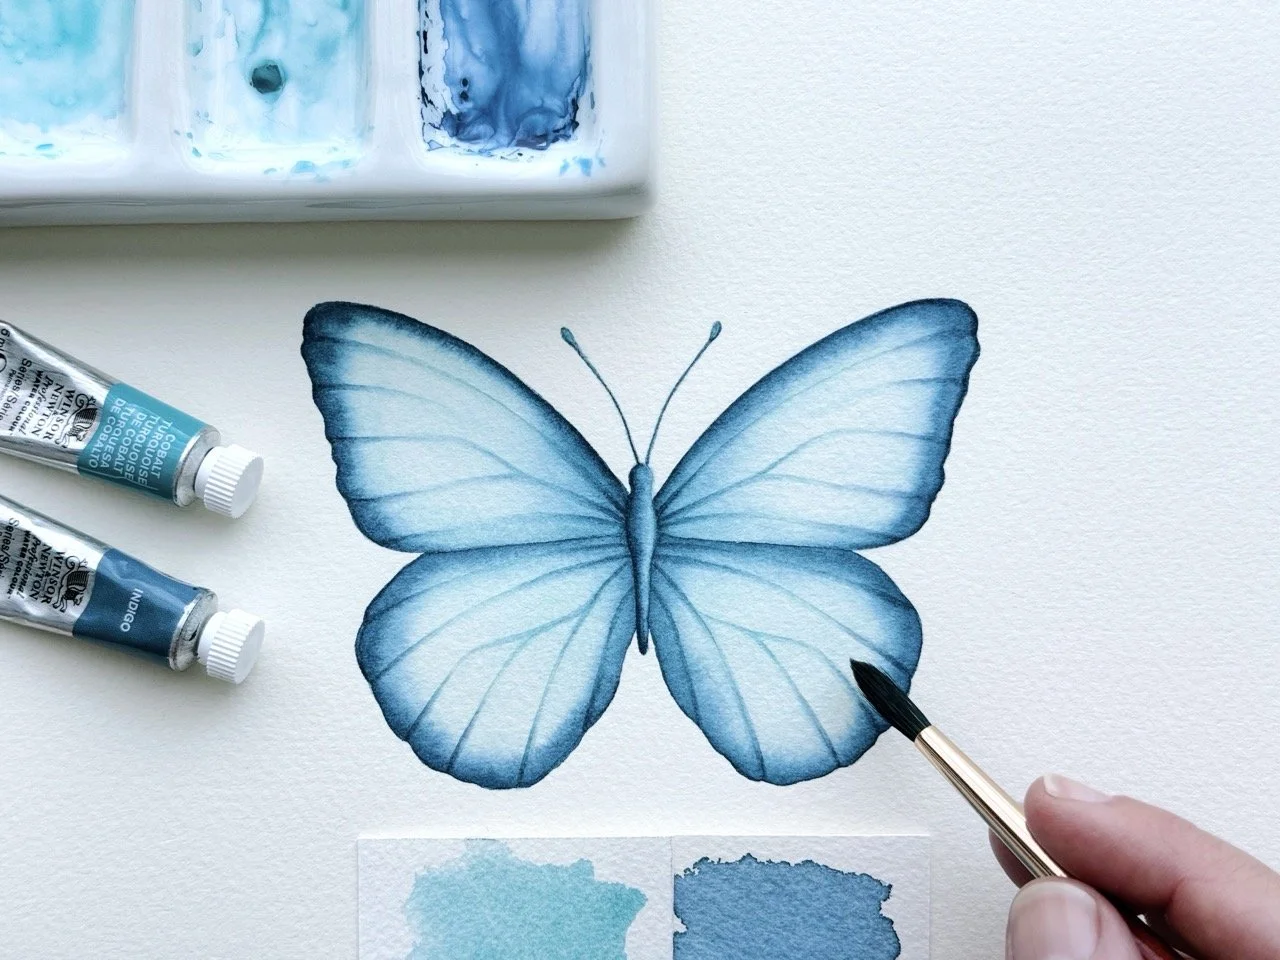
How to Paint a Watercolour Butterfly: Step-by-Step Tutorial
Butterflies have always fascinated me with their delicate beauty and their symbolism of hope, transformation, and new beginnings. In this step-by-step guide, I’ll show you how to paint a fun, whimsical watercolour butterfly. Once you finish your first one, I’m sure you’ll be excited to create more in all your favourite colours. Let’s get started!
MATERIALS NEEDED
Watercolour Paper – Cold pressed, 300gsm. I have used Saunders Waterford, which is 100% cotton.
Pencil & Eraser – I use an HB mechanical pencil with a 0.5mm lead for all my drawings, and a kneadable art eraser from Faber-Castell.
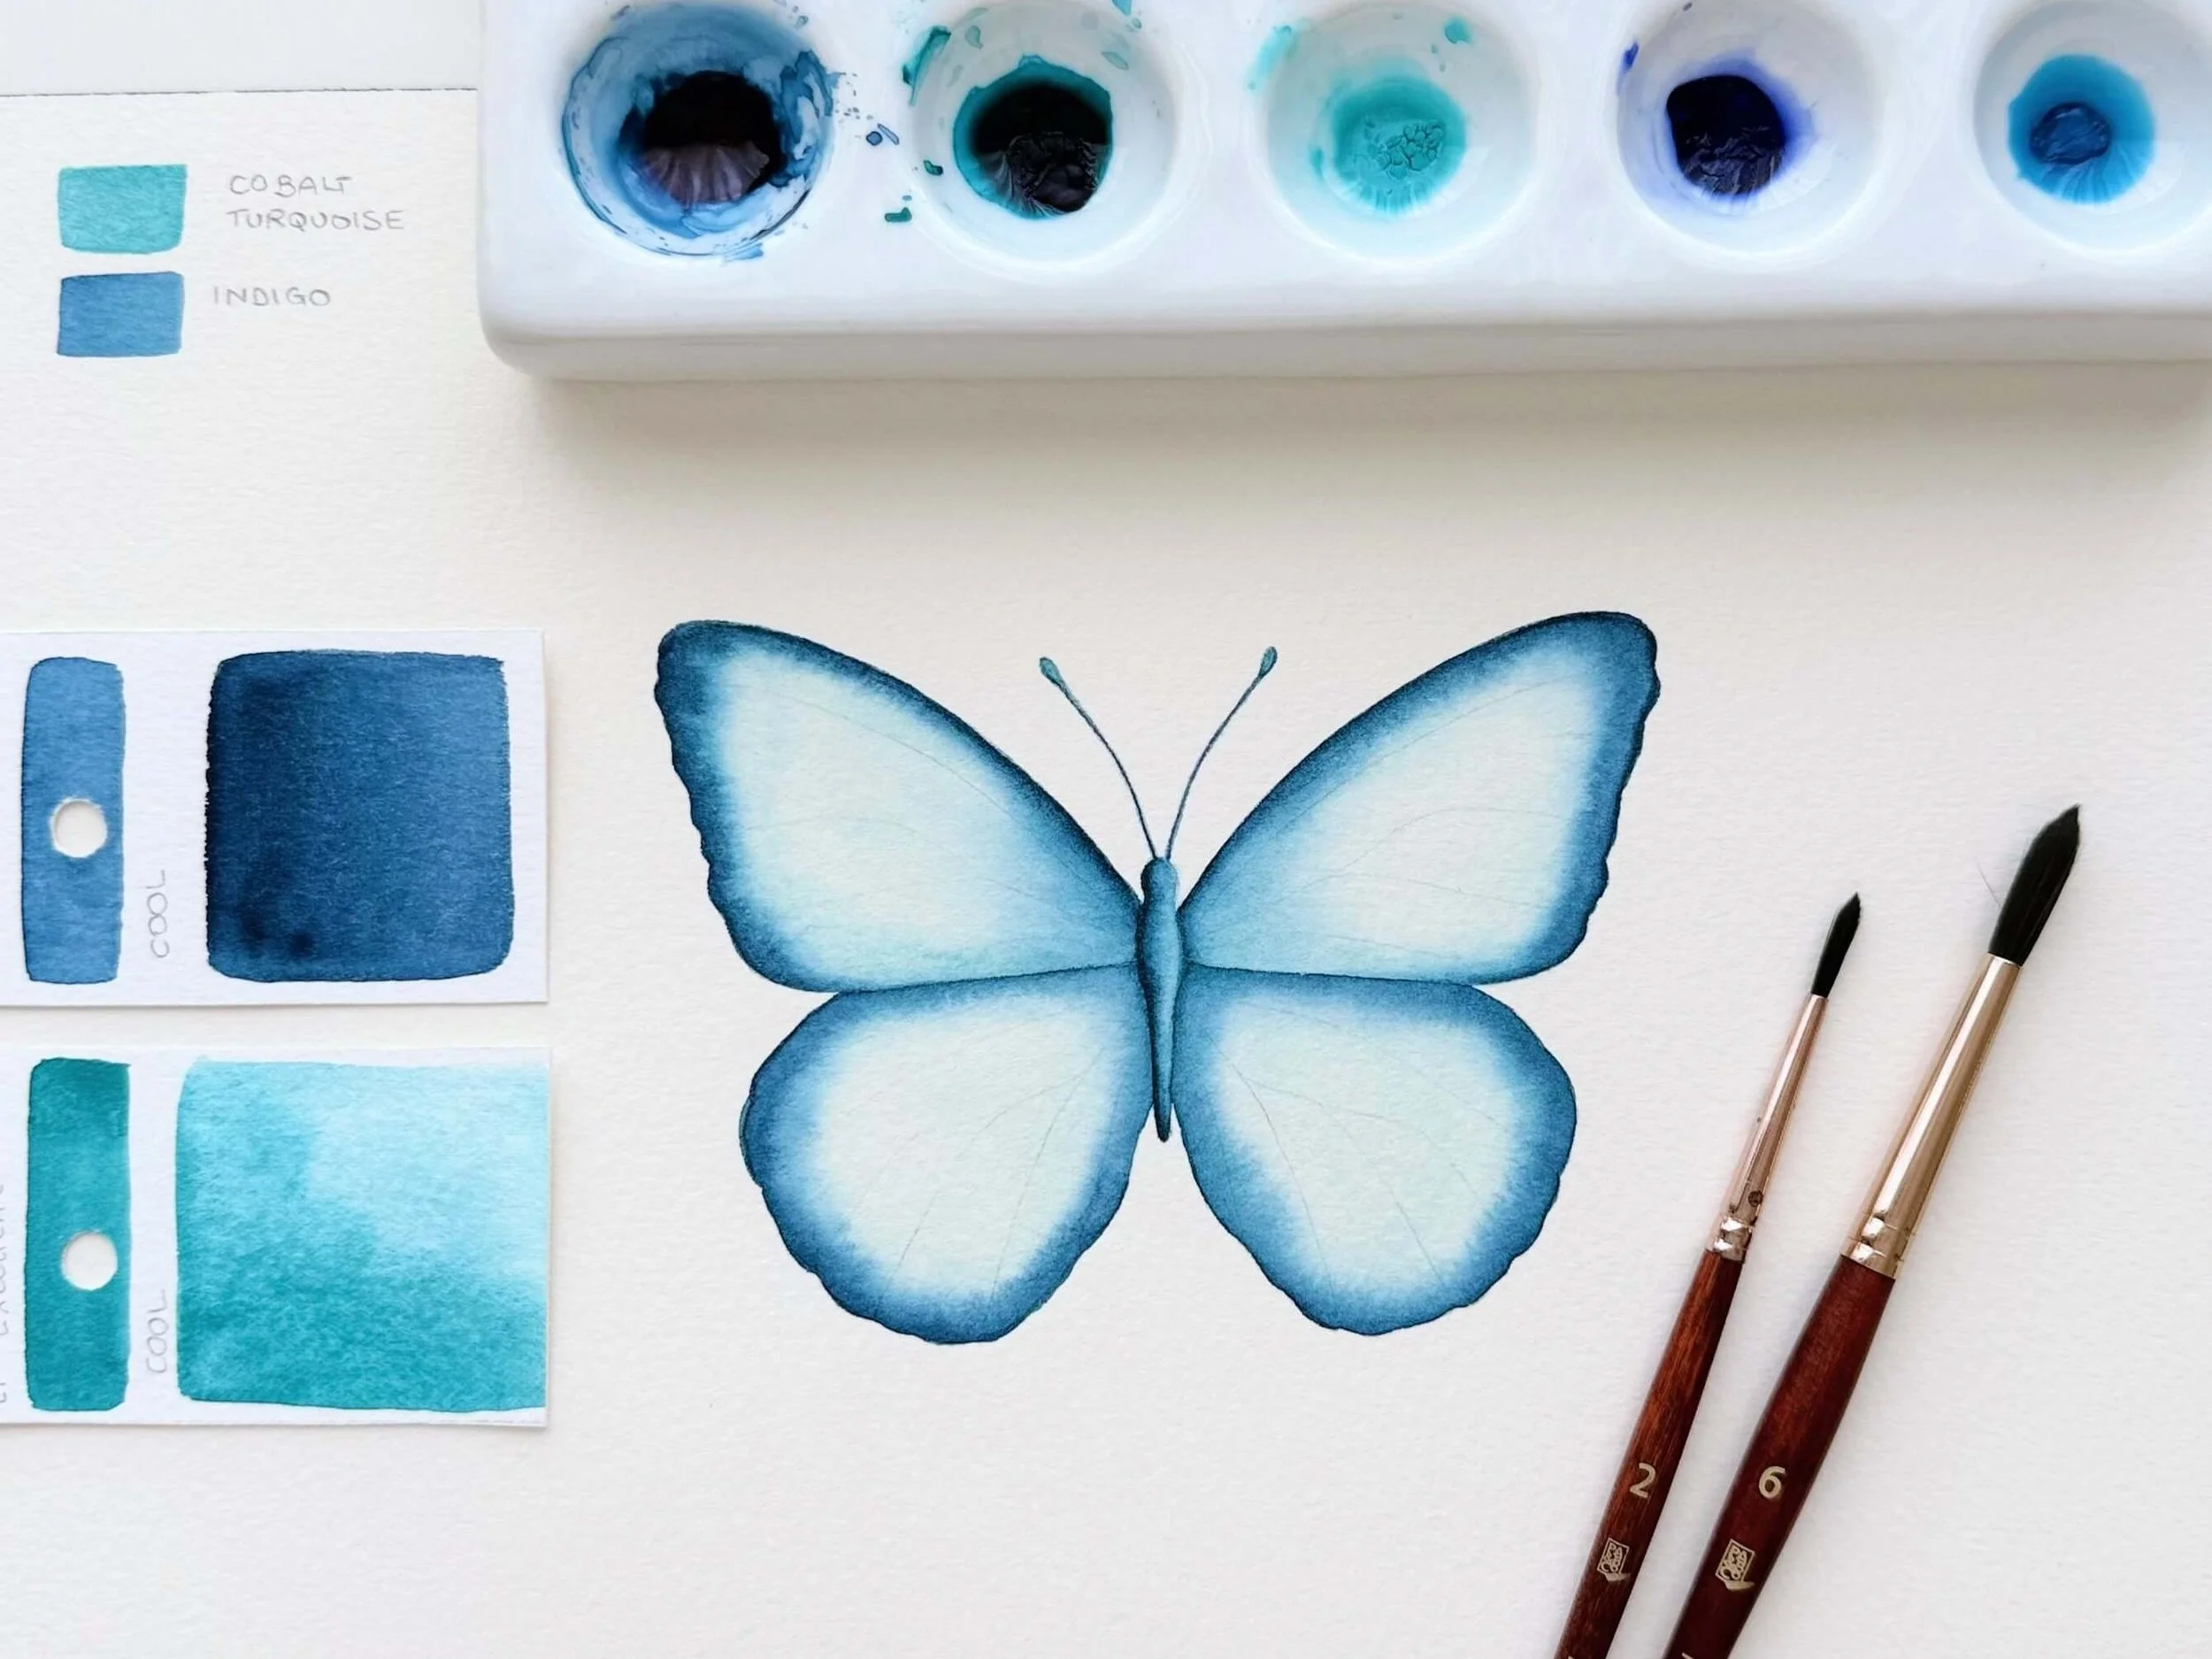
Size 6 and Size 2 round brushes – I love my Princeton Neptune which are a synthetic alternative to squirrel hair.
Liner brush or Size 0 round brush – For fine details like veins and antennae.
Water pot
Paper Towels
PAINT
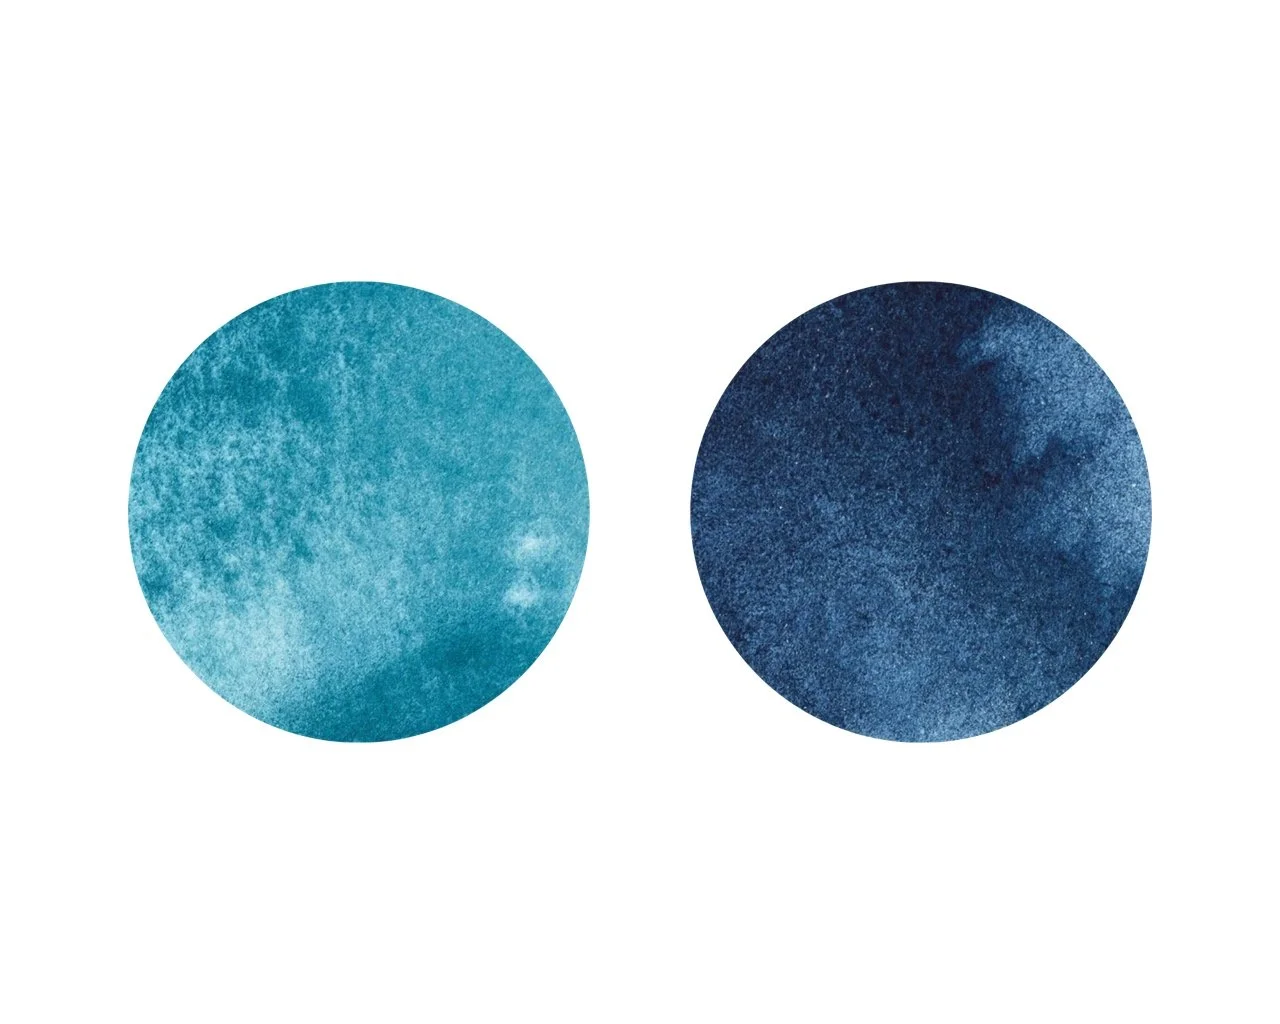
Cobalt Turquoise – Pigment Code: PB28,PB36
Indigo – Pigment Code: PB15,PBk6,PV19 – For the body and defining the wing edges
I’ve used Winsor & Newton Professional Watercolours, but I’ve included the pigment codes, so you can easily match them with your preferred brand.
Always prepare your colour palette before you start painting. It saves time and helps you stay in the flow, especially when using wet-on-wet techniques.
STEP 1: SKETCHING THE BUTTERFLY
Sketch the butterfly on a separate piece of paper. You can use my drawing if you wish, a reference photo, or your imagination.
Tip: If you’re unsure about symmetry, fold your paper in half and sketch half of the butterfly. Then, trace it onto the other side for a perfectly balanced shape.
Transfer the drawing onto your watercolour paper using a light pad. If you don’t have one, hold your drawing against a well-lit window, place the watercolour paper on top, and trace lightly. Keep your pencil lines very light so they don’t show through the paint. If the lines are too dark, dab them with the kneadable art eraser. Be careful not to scrub too hard, as this could damage the paper.
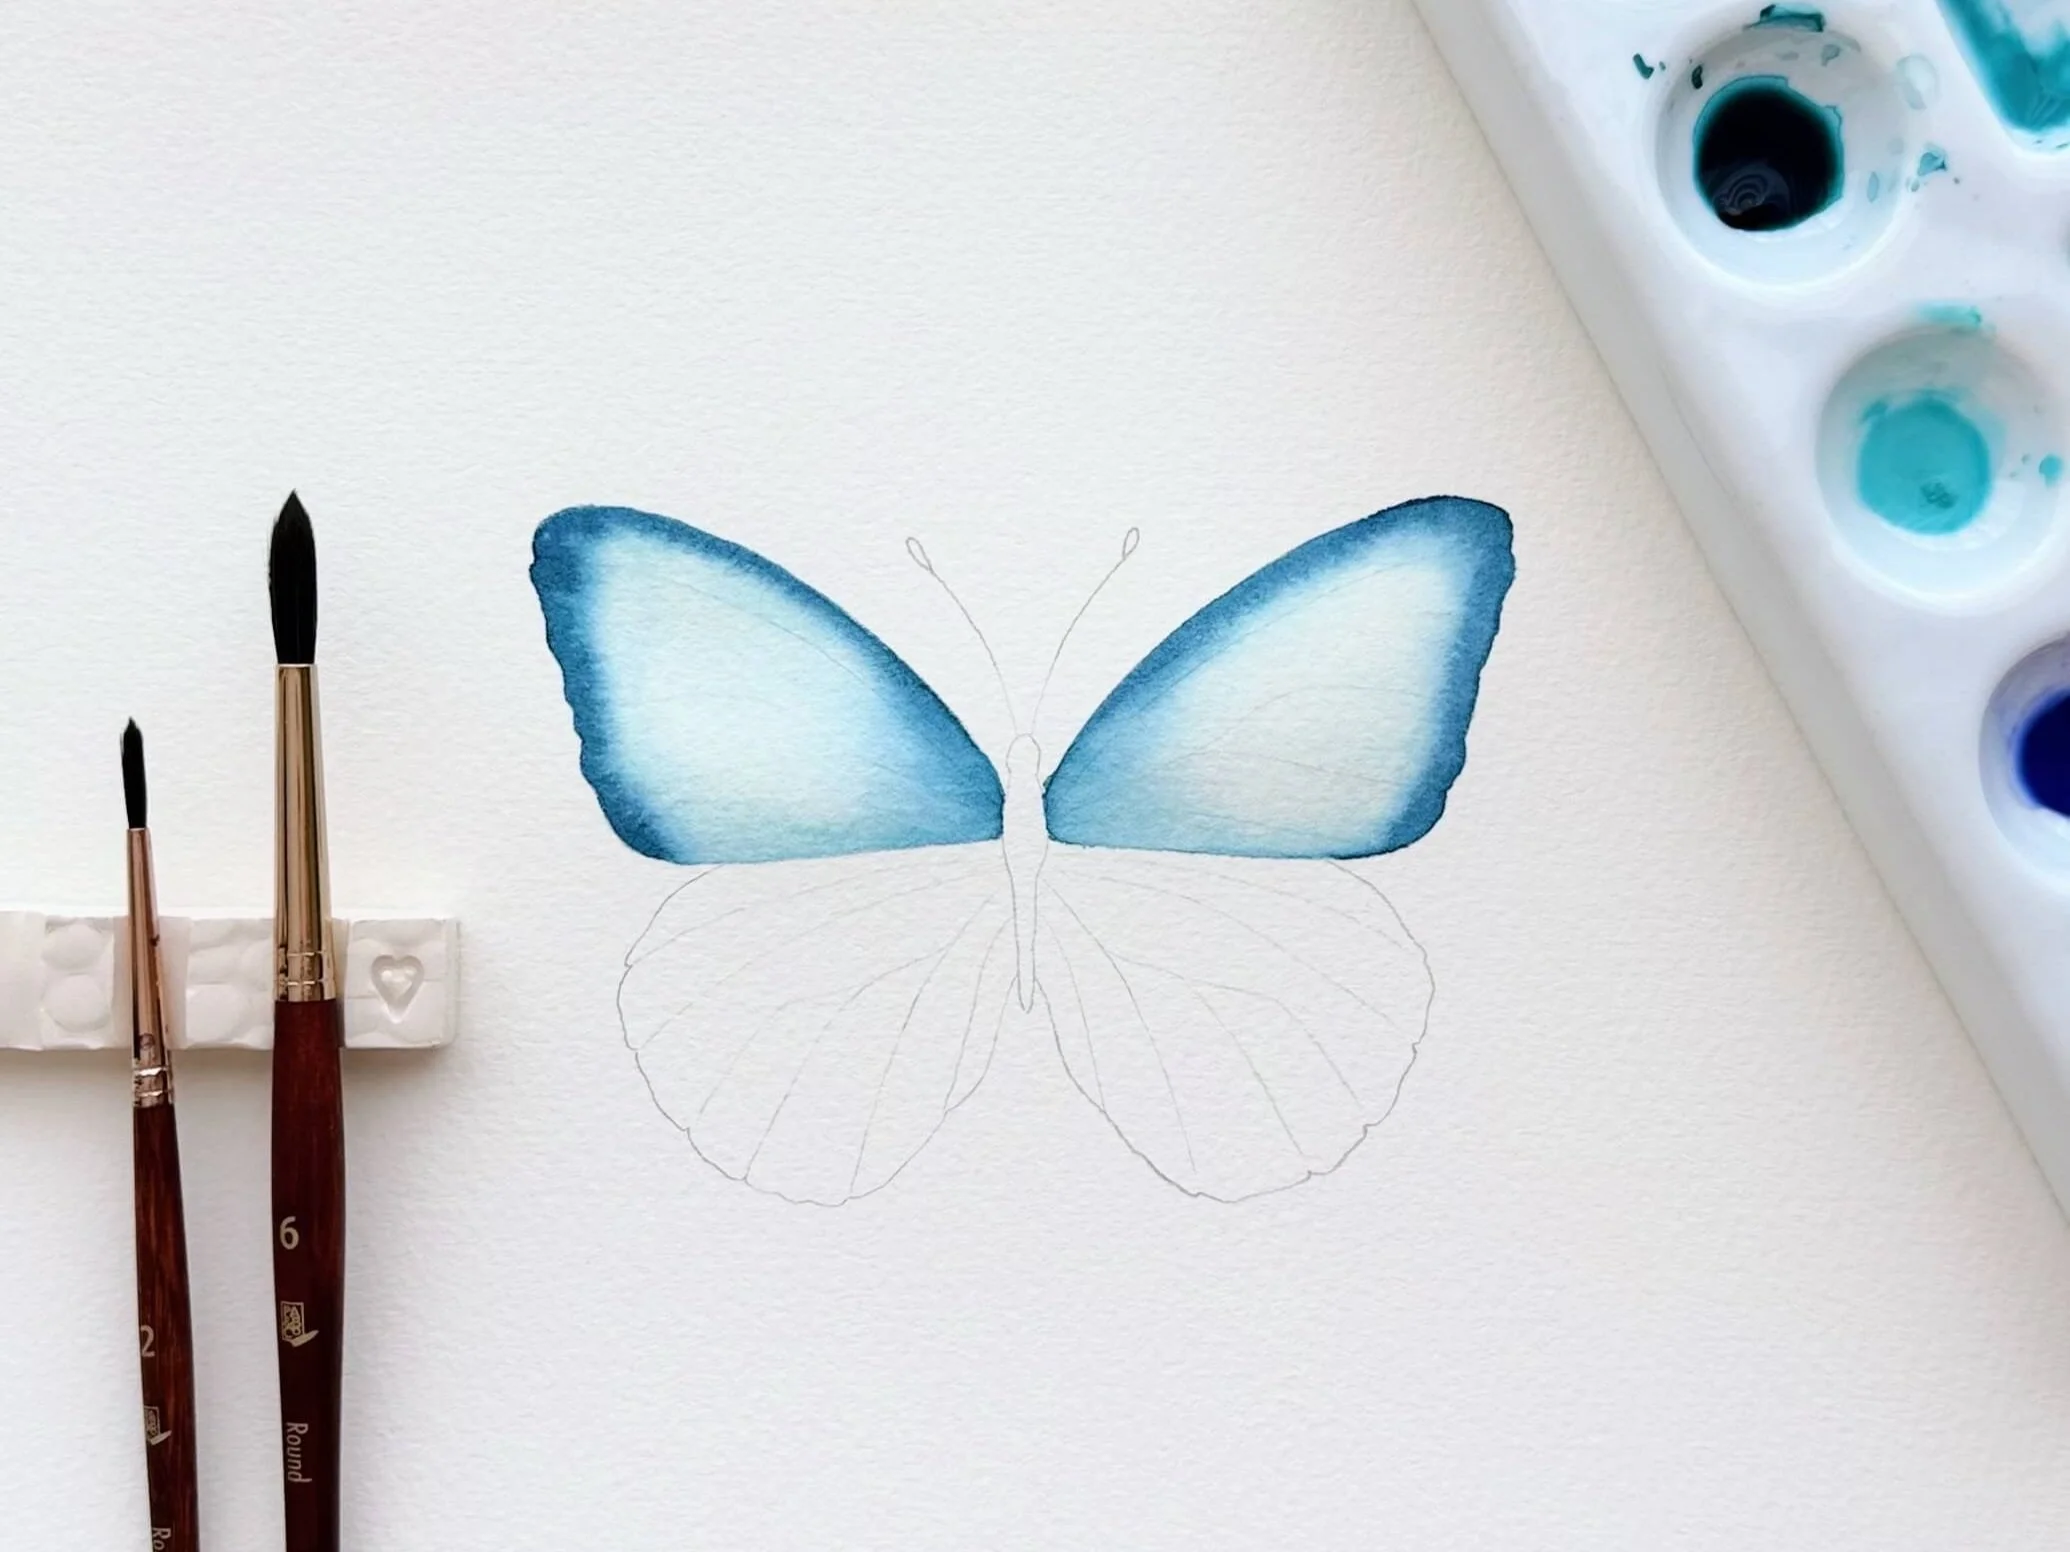
STEP 2: PAINTING THE WINGS (WET-ON-WET TECHNIQUE)
Wet your size 6 round brush with clean water and lightly coat one wing. This will prepare the surface for a seamless blend. The paper should look shiny, with water distributed evenly and no pooling. If there’s too much water, gently soak it up with your brush.
Tip: If you’re right-handed like me, start with the top left wing to avoid smudging as you move across the paper. If you’re left-handed, it’s often easier to begin with the top right wing for the same reason.
Apply a diluted Cobalt Turquoise to the wing.
While the wing is still wet, use your size 2 brush to add a slightly more concentrated Indigo near the butterfly’s body and along the top and outer edges of the wing. This will create a soft, natural gradient. If the paint spreads too much, carefully guide it back into place using a damp brush. Make sure to dab your brush on a paper towel first to remove excess water, this gives you more control and helps prevent backruns.
Once the first wing is finished, move to the other wing and repeat the process.
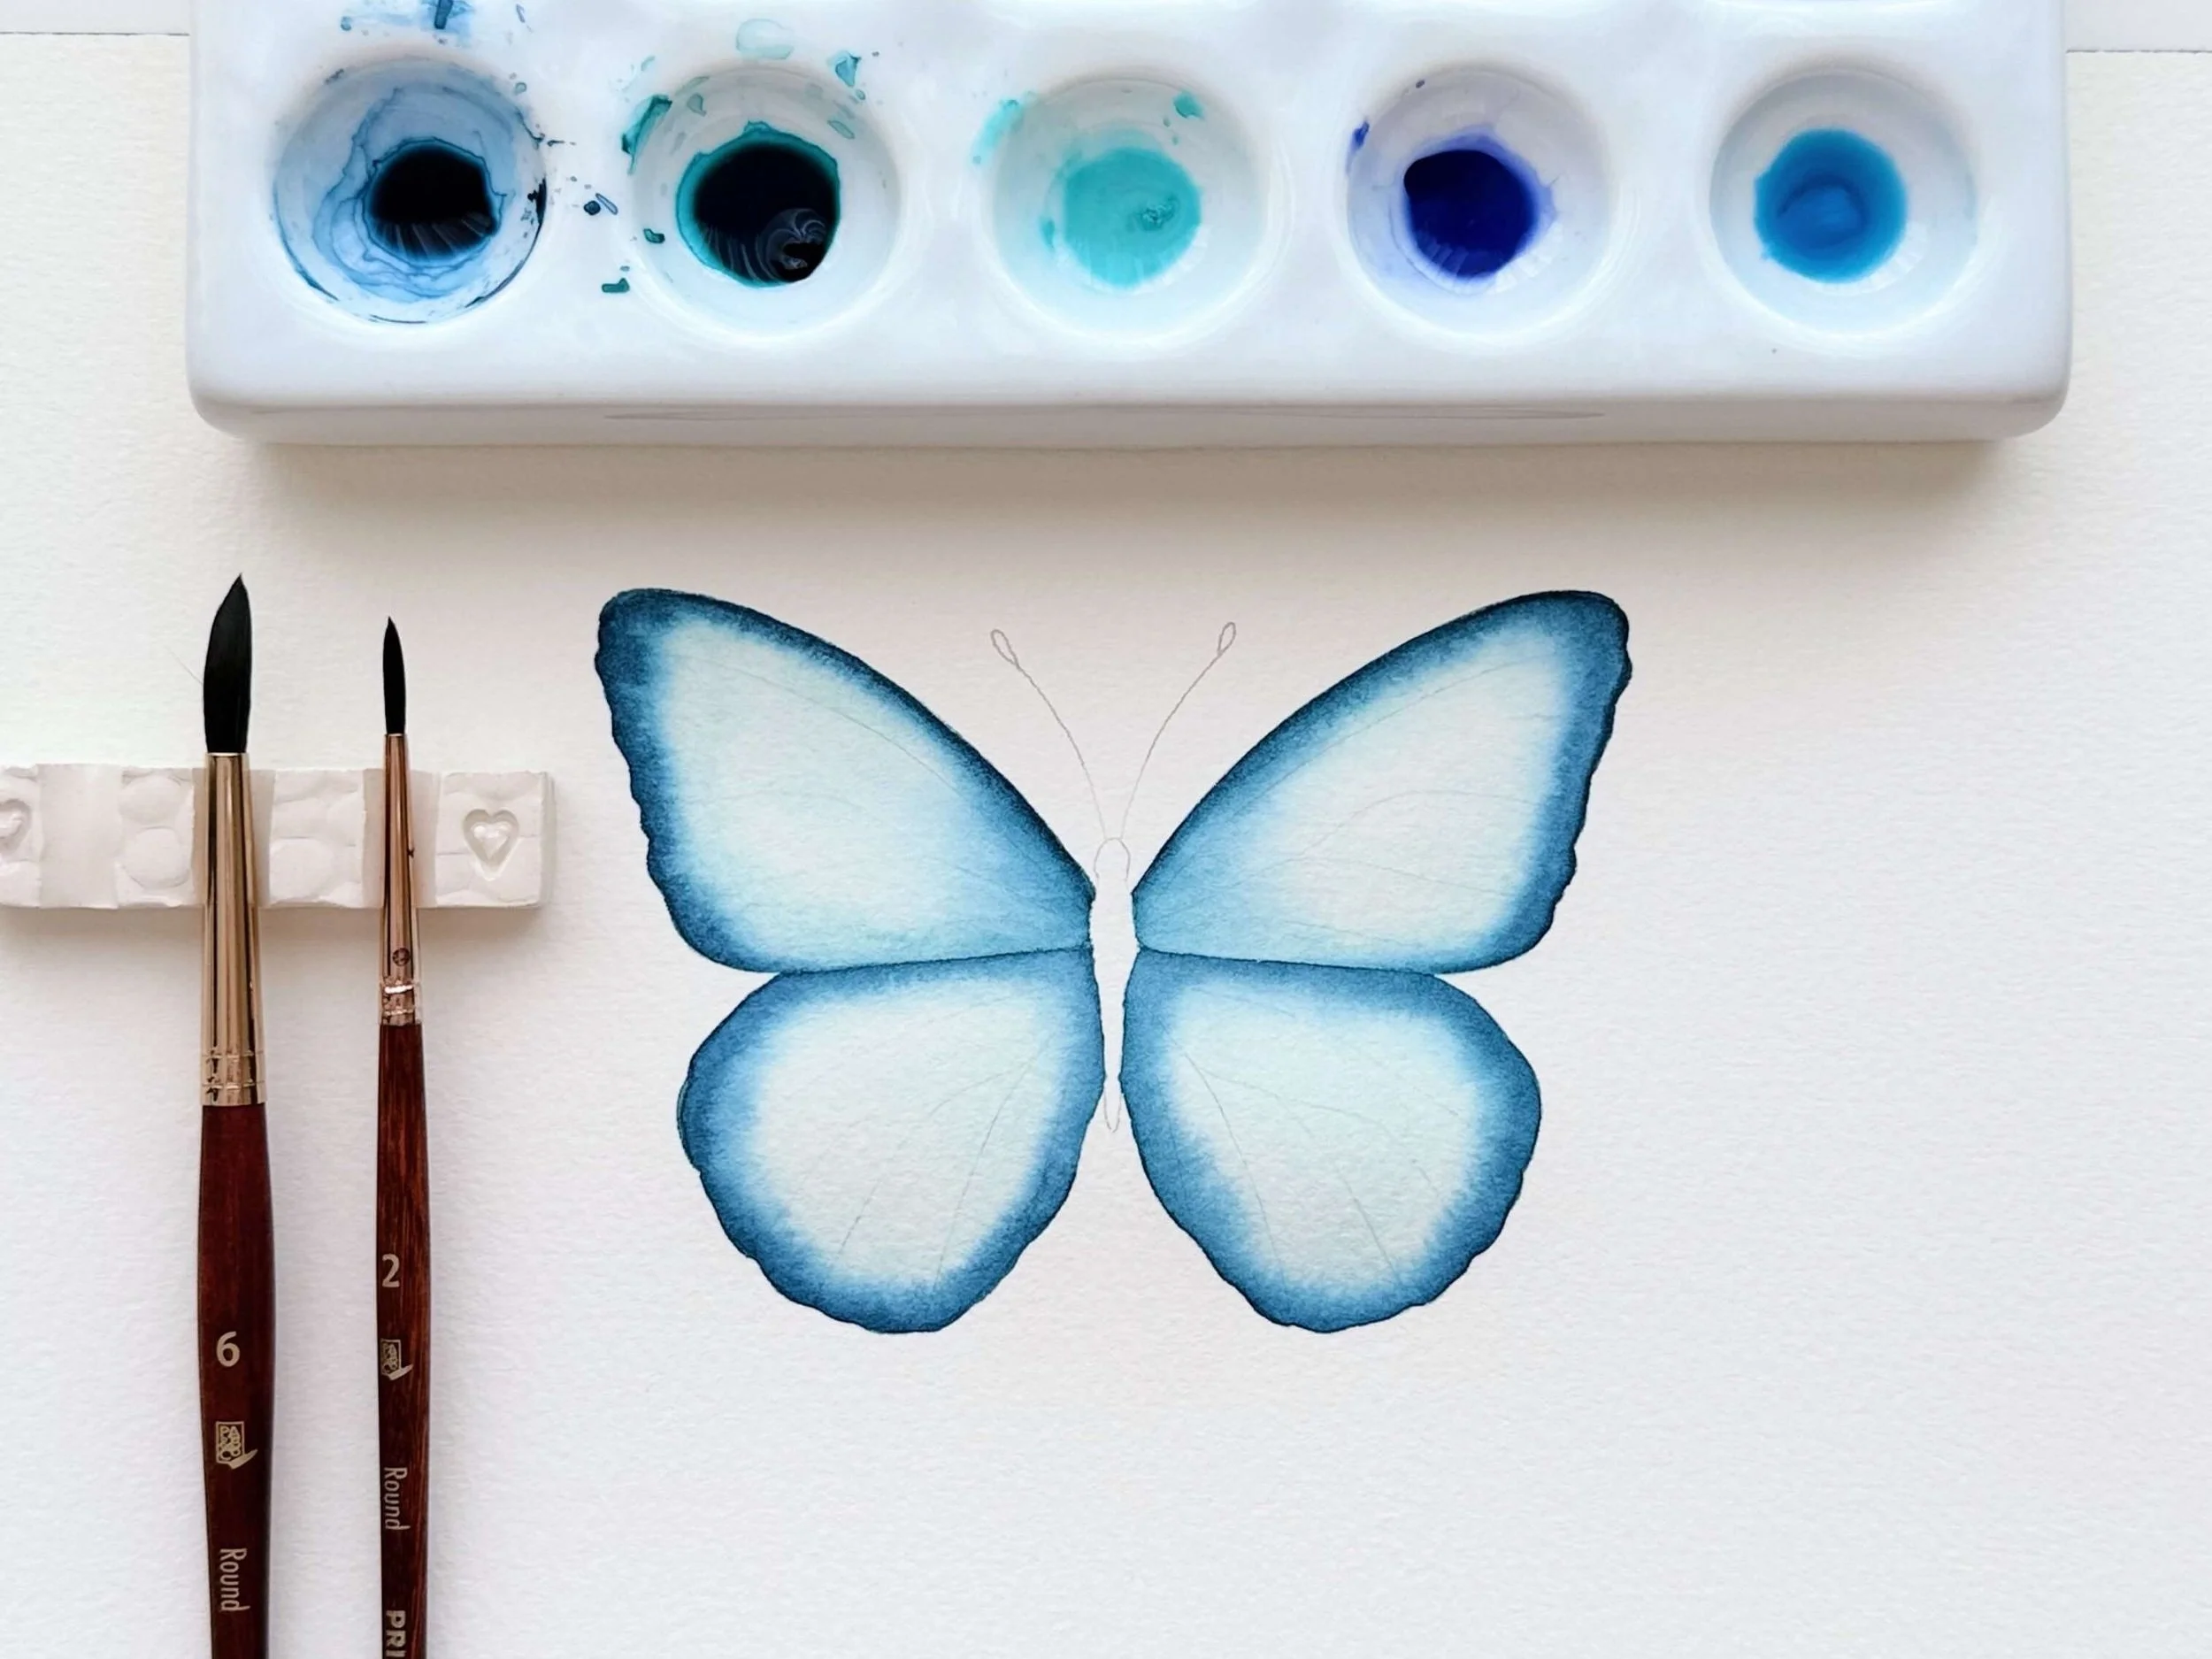
BOTTOM WINGS: Allow the top wings to dry completely before painting the bottom wings. This prevents the colours from blending unintentionally. Repeat the same steps as before, but this time, apply Indigo around the entire wing to create a shadow beneath the top wings.
Avoid overworking the paint, as it can make the colours look dull. Let the colours blend naturally, and trust the process!
STEP 3: PAINTING THE BODY (WET-ON-DRY TECHNIQUE)
Once the wings are completely dry, switch to your size 2 round brush.
Use Cobalt Turquoise at a medium consistency to paint the butterfly’s head and body.
Let this first layer dry, then add a second layer on the left side of the body using Indigo to create depth. Blend to create a soft shadow, giving the impression that light is hitting the right side.
Using your liner brush or Size 0 round, paint the butterfly’s antennae: thin, curved lines with small circles at the tips. This requires a steady hand, so take your time.
Tip: Remove excess water from your brush before painting fine details to keep your lines crisp and controlled. Practise on scrap paper first to get a feel for the brush’s water-to-paint ratio.

STEP 4: ADDING DETAILS
With your liner or Size 0 round brush, use a watery Cobalt Turquoise to paint the veins across the wings. Follow the natural curve of the wings.
Using the same brush, apply Indigo only on the inner and outer edges of the veins and blend well. This will leave the middle section light and delicate, giving the wings a soft, glowing effect.
If you wish, you can apply another layer of Indigo, wet-on-dry, along the edges of the wings. This will create more contrast while keeping the overall translucent look of the wings.
“You do not just wake up and become a butterfly. Growth is a process”
PERSONALISING YOUR BUTTERFLY
One of the joys of painting butterflies is how versatile they can be. Feel free to make your artwork unique!
Here are some ideas to personalise your butterfly:
Experiment with colours: swap Cobalt Turquoise for a pink shade like Permanent Rose and Indigo for a dark purple such as Perylene Violet.
Add patterns like dots, swirls, or other whimsical shapes on the wings.
Create a background: add a soft, blurred background with greens and blues to mimic leaves or flowers.
There’s no limit to creativity when painting these magical creatures!
I hope this tutorial helps you create a whimsical watercolour butterfly full of life and charm. Once you master these techniques, you can paint a whole collection of butterflies in different colours and styles. The more you practise, the more confident you’ll become with your brushwork and blending skills!
Happy painting!

Download your free PDF!
Would you like to keep this butterfly tutorial handy while you paint?
I’ve created a free, easy-to-follow PDF version that you can download and refer back to anytime.
Keep it on your device or print it out for a convenient guide as you create your beautiful butterflies.

